


including character latex
& fx contacts lenses


Link to this site!
|
Walls
If you are creating or building a yard or home haunt you probably need to have some walls.
Walls to cover existing ones, to hide or cover items or decor, to create a hallway, to create a maze, or just to block your guests view of an item, prop or actor.
Here are some different ways to create and build walls.
* Please Note * - I reference using "black plastic" alot in my instructions you can use alot of other items instead such as sheets, colored tablecloths, foil tablecloths (great for strobe rooms or tunnels), camo netting, styrofoam sheets made to look like stone, bricks, caves, etc.
* Using Pallets - this method is good weither you are using them with the intent of having colored light shining from the outside of the pallets shining in (awesome with fog too!), if you want open areas for hands or items to pop through or if you want you can also cover with black plastic for a solid wall look (using a stape gun -not an electric or air powered one- just remember to put a small piece of duct tape on the plastic where you are going to staple, this will prevent the plastic from tearing away from the staples and wood).
Just nail pallets together using a piece of an 2"x4" to connect (if desired). An advantage to using pallets is that you can usually and very easily find a company who offers them to the public to take for FREE!
Also, they can get wet and the rain won't destroy them!
* Making wood posts with black plastic
Ok get some medium size cardboard boxes at least 12" square & 6" tall, and some 2" x 2" wood poles, make sure they are as long as you want your wall tall, and a couple of bags of quick cement. Make sure you have someone to assist you when making these. Now grab a bag of quick cement, mix as directed on bag, set aside for a minute. Have your assistant hold one of the 2 x 2's into the center of the cardboard box then pour at least 5 inches of cement into the box, make sure to hold the wood pole still for a few minutes until the cement sets, then let sit undisturbed for 30 to an hour to cure. Repeat again and again until you have enough poles to make your fence as long as you wish. When all finished and all your cement poles have cured, place where you want your fence and then wrap with black plastic, now where the plastic and the wood meet I place a piece of duct tape and by using a staple gun I staple the plastic to the pole, just to make it more secure. And your finished!
* Very sturdy and portable, you can move or put this wall anywhere, make as tall or short as you want and even wrap around curves, make it zig zag, straight or whatever design you choose, an added effect is to put slashes into the plastic then have a colored light shining from behind. COOL!
* Using PVC - this is a good way to construct walls that you want to store and reuse year after year and it is cost effective.
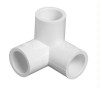
Just buy some PVC (remember the thicker the PVC the stronger your walls will be) and some fittings such as crosses, 4 way couplings,90* Side Outlet Elbows, and couplings. See pictures below for reference.

Coupling
| 
90* Side Outlet Elbow
| 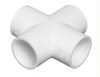
4 Way
|
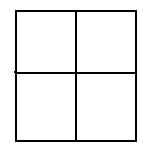
You want to make a large square frame. If you want it to be sturdier make it so that you have a two pieces of PVC going across the middle making it look like a window. (See Picture 1) You can connect these frames together using fittings to create turns, a long wall, tunnels, rooms, etc. (See Picture 2)
Picture 1
| 
Picture 2
| ||
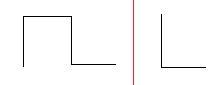
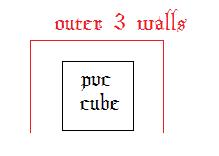
If you are creating a maze or turning tunnel use the PVC and fitting to make a large square cube then make 3 connected outer walls, a giant square C shape, and you will instantly create 2 turns in your maze (See picture 3)
Picture 3
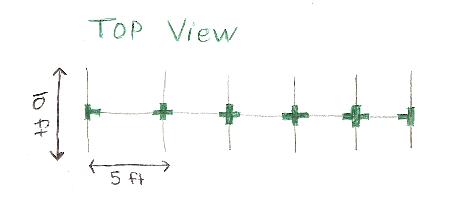
Also, if you are making a tunnel you need to get some rebar to pound in the ground half way then, place the PVC over the rebar to hold up your tunnel.
You can choose to use the PVC cement to permanently glue them together but, usually they fit together really tight so if you want to reuse your frames for your walls just DON'T glue them together.
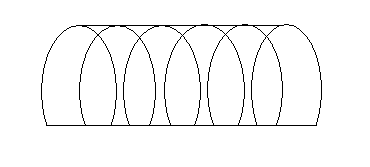
If making a tunnel or maze that is rounded at the top make sure to have sections of straight PVC going down the middle of the very top of your structure. See pictures below for reference.
| 
|
Weither or not you are making flat or rounded tunnels and walls, after you have the PVC frame completed just cover with a large sheet of black plastic and use "Gorilla" Brand Duct Tape to secure the ends, bottoms, and sides to the PVC pieces.
If you want walls inside of a garage, car port or inbetween trees, you can attach pieces of black plastic just by stapling them to the posts or trees (being that you are allowed to and that you won't get into trouble). You can also take a thin gauge wire or rope and attach or tie it to the top and the bottom of the posts or trees and hang about 3 inches of the plastic sheet over the wire/rope and by using "Gorilla" Brand Tape attach on the back side
Quick and easy without staple holes!
* Using Cardboard
The best kind of cardboard for this is the thick kind like from big boxes, you can get flat sections that are usually around 4 foot by 4 foot at grocery stores (from packaging). Line them up together and use silver duct tape to make a large sheet. Then tape together in a /\/\/\ -zigzag shape so it will stand up by itself. Then either drape black plastic over it or use spray paint on it. Using black lights? Use florsecent paint! Write words, or spray it for a few seconds in one spot and let it drip down!
* How to make realistic looking brick, stone, cave walls or walls with emerging faces, hands, skulls, etc.
You can use white, pink or blue sheets of styrofoam or polyurathane when making any of these the choice is yours.
Brick & Stone - I know 3 ways to make these...
1. Lay down a full sheet of styrofoam and using a hot knife tool that is just wide enough to resemble the mortar, don't forget the nicks, dings and chips from aging, and very slowly "cut" out where the mortar would be. To make it easier take a marker and draw out the bricks/stones or just draw the lines where the "mortar" inbetween is, of course if you are making a stone wall the mortar will not only be in straight lines but, also will include curved and thicker sections too.
When finished cutting apply a coat of latex paint (you can add sand to the paint for a rough stone finish) or joint compound (this will add a lot of weight to your wall but, it will add texture as you can create any kind you would like for example lines, goudges, fossile prints, messages, etc.).
2.You can use either an exacto knife (be very careful) or better yet use and hot knife and cut out your single bricks or stones out of either styrofoam or soft foam (like the 2" or 3" kind you can purchase at the craft stores for furniture). * TIP * If you see someone throwing out an old couch, stop and ask them if you can have the coushions usually they don't care, then use the FREE foam to make your stones!
Once you have your stones cut out you can "hot glue" them onto a bed sheet, styrofoam sheet, soft foam (easy to curve for a cave tunnel) or to a sheet of plywood. When cooled paint with latex paint. (again, you can add sand to the paint to get a rough stone finish). After that is dry you can use spray paint for shadows and shading.
3. Using a piece of styrofoam or thin wood paint the bricks or stones and the mortar onto it adding shading and shadows for depth.
You can also use the plastic rock, stone or brick shaped molds used for making cement paths and walkways for yards and gardens. These are molds you pour cement into several small sections that are divided into different shaped sections looking like rocks, stones or bricks.
Just place these on top of your styrofoam or wood then use (latex paint first if applying to styrofoam) latex paint and a medium paint brush or spray paint to paint inside the mold. Another way is to brush paint onto the bottom of the mold which would be your dividing lines and press onto the styrofoam or wood.
You can also apply joint compound onto a sheet of plywood and then press these molds into in, let dry and paint for a real looking stone wall but remember these will be extremely heavy and not recommended for outdoor use as the joint compound won't hold up even if painted to moisture or rain, even if the plywood gets wet it will absorb through the wood to the joint compound and ruin it or make it fall off. This is a great for an indoor haunt that you will leave set up for a while.
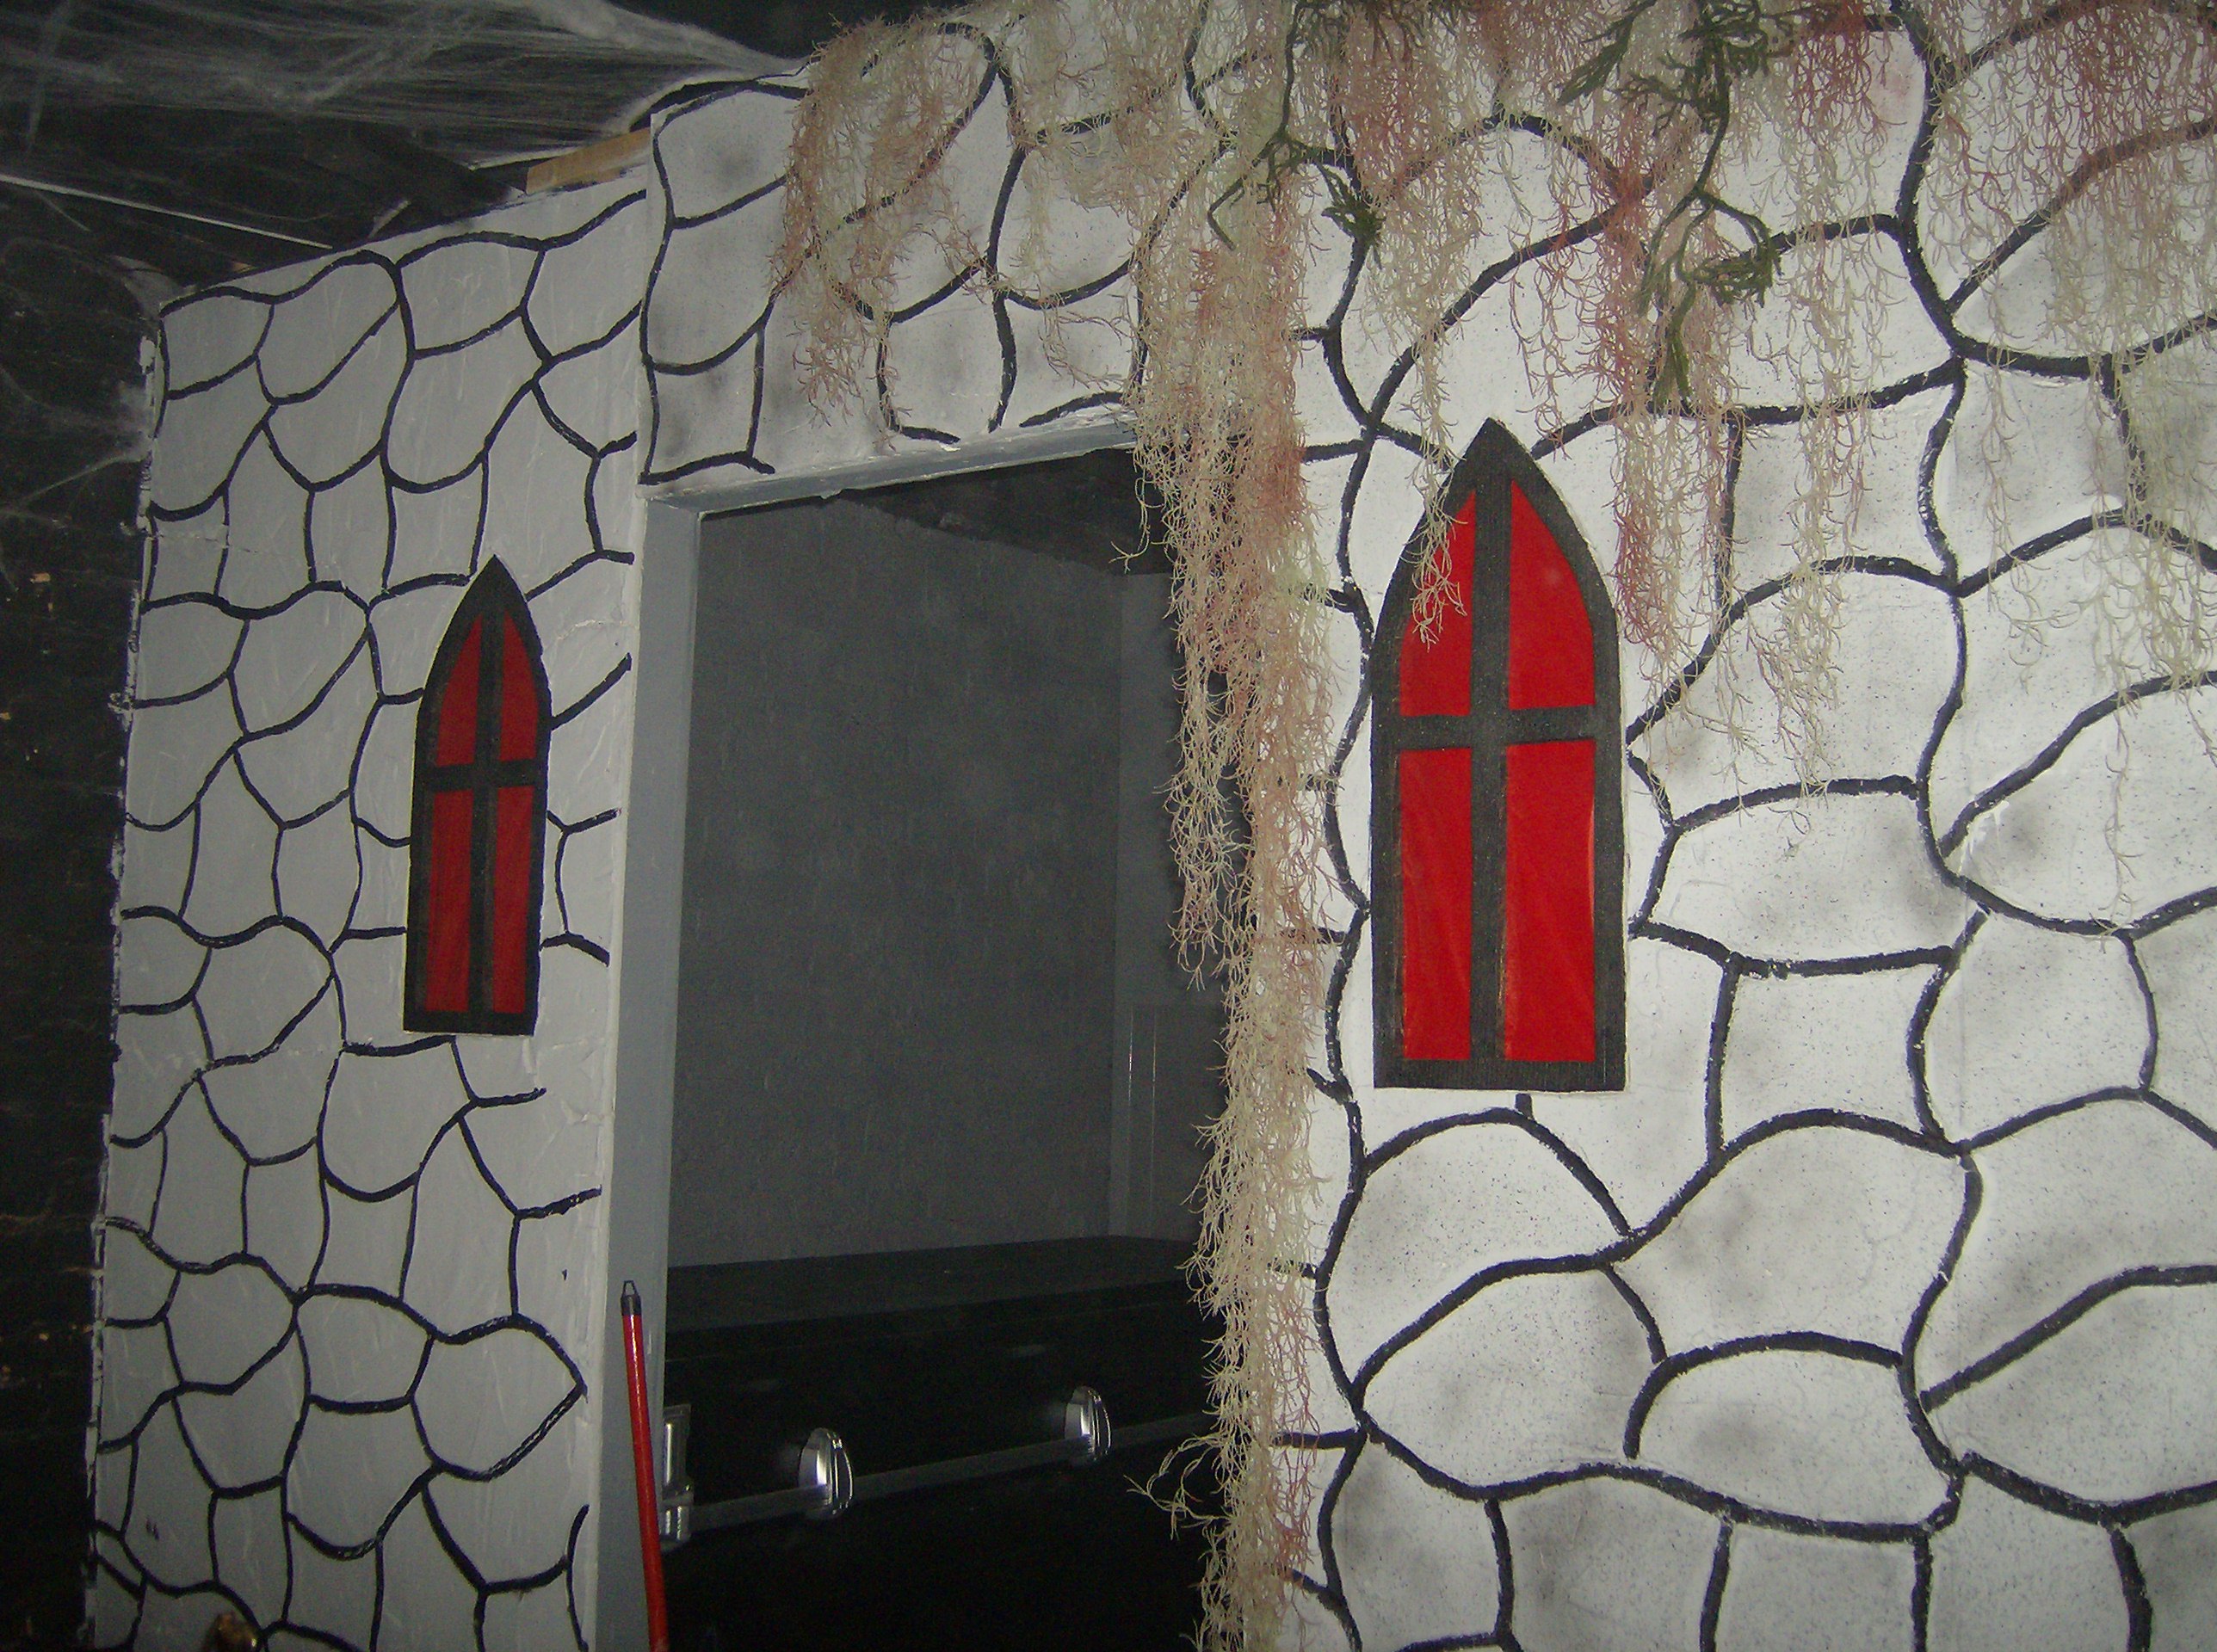
Below are a couple of pictures of a mausoleum that we built using the joint compound method for the stone walls this was for one of our commercial haunts in the cemetery scene. The small colored lights in the one picture are the "mini spotlights" from www.minispotlights.com
* Cave Walls
Here is how to make "cave walls".
First make a solid wood frame out of 2x4's, make sure to nail extra 2x4's to the top and sides for support of the weight of your tunnel. Using chicken wire, stapled sections onto your wood frame, making sure to have a curve in the top section, and cover with cheesecloth. Then using either Joint compound (indoor use only), (you change the color of the joint compound just add some latex paint to it), or you can use spray foam (great for both outdoors and indoors). Using either one of these methods completely cover the cheesecloth and let dry. If you are using spray foam leave some gaps as the foam will expand. You can always fill unwanted gaps later with more spray foam. To paint the spray foam when dry make sure to apply a coat of LATEX paint before you use spray paint! Some of the different brands of spray paint will eat way at the spray foam but, then again maybe a cool effect! Also when the foam or joint compound is dry you can use hot glue to add moss, leaves, bugs, spiders, snakes, etc.
* How to create wall or caves with emerging hands, faces or skulls.
First of all you need to have the items you want to add to your wall or cave. If you don't want to spend a lot of money buying a bunch of the items you want emerging you can make copies of the original one you purchased and by using "molding & casting" techinques. Click HERE to go to the Casting & Molding Page to learn how!
Using the method to create cave walls, when you are at the stage of placing the cheesecloth over the chicken wire you want to attach whatever item(s) you are adding to the wall using either twist ties, zip ties or hot glue. When attaching your item(s) make sure to go through the cheesecloth to the chicken wire, even if you are using hot glue make sure to get the glue around the wire and cloth both. Next, apply the spray foam or joint compound around the item (and behind the item if used twist/zip ties to attach). Be careful not to apply to much spray foam as it will cover your item as it expands unless thats the look you want. If you do get a little too much foam around your item, when the foam is dry you can take an exacto knife or a hot knife and cut the extra away from or off your item(s).
When dry you can paint the joint compound or foam with latex paint (Make sure to do this first on the foam before using spray paint!) then you can use different colors of spray paint to add shading and shadows, make it looks like intestines, tree roots, or whatever your imagination creates!
* TIPS for making CAVES!
* If you want a "wet" look, as your last layer of paint add a "clear coat" to keep it glossy.
* Use "blood", red, or burgandy colored Hot Glue sticks to make fresh wet looking blood drips!
* From Sinister Scents you can buy wood, compost, decay and other scent packets to add smells to complete your scene! Click HERE to goto their online store.
* Use hot glue or staples to attach roaches, bugs, spiders, worms, maggots, frogs, snakes, etc. to your cave walls.
|
