|


|
 Decorating/Haunt Items Decorating/Haunt Items
Here you will find many different items to use and ways to decorate.
Including tips on "how to" make and "where to" use many different home made
and store bought items in your haunt, or just to spook things up a little.
Remember decorating is one of the best, fun, and most creative parts of the haunt!
This page is currently being updated!!!
As there are many different items I want to talk about, this page many seem quite long.
Please click on the section you would like to view if you wish not to read the whole article.

Caution Tape
There are many "fun" uses for caution tape. Here are a few different ideas...
Use in front of scenes to limit how close visitors can get to your scenes and/or objects.
Use around and in...
Wrap around and in front of fences.
Entrance
Lab scenes
Alien crash scenes
Great for making a Walkway/Path to stay on thoughout your haunt.
Graveyard
Crime Scene
Zombie Scene
Accross windows
Rolls of Plastic
Let me tell ya once I discovered these rolls of plastic you can buy (usually at menards or at a hardware store)they come is either clear(frosted) or black and in many lengths and widths. I could never do a haunt without them, there are so many wonderful uses for them weither it's a large or a small amount of plastic, this is definately a must have for all haunters. Here is a list of uses, ENJOY!!!!
To make walls - Check out this page!
To make a fake dirt ground (fresh grave)
Use to cover or hide items in your yard or garage you don't want everyone to see.
Use to protect floors from getting dirty or scratched from items being used in a scene.
Hang up as you would for a wall then make slashes into it and place a colored light behind for a spooky lighted background effect.
Silly String
I have found that using silly string in your haunt is very fun! I usually buy about 10 cans and hand them out to people who have dressed up and are helping out in the haunt. When ever they (the actors) rise up, jump out, chase, follow, or pop up they'll give a squirt of silly string at the kids. As far as I know it won't stain , it's easy to clean up, and you can buy it in many colors, BUT it is flamable! I have seen it in black, orange, flourscent colors, blacklight, and glow in the dark. Talk about an awsome blacklight effect! Besides it always makes who ever your shooting it at jump about 4' up in the air, they don't expect anything to actually come right at them!
Creepy & Crawly
Around Halloween time at your local Party or Halloween Speciality store you can find many different types of plastic or rubber eyes, body parts, snakes, spiders, flies, maggots, roaches, worms, etc.
Keep in mind that you can order from Halloween stores online year round and you can also get realistic worms, frogs, salamenders, etc. year round at your lcoal fishing store/outlet.
Here are some ways to incorperate these into your Haunt or Halloween party.
* Take the plastic bugs and wash with dishsoap (don't use any worms or maggots that have an oily film on them as it won't all wash off and you don't want to ingest that!) and place upside down in an ice cube tray. Add water, water with red food coloring, or kool-aid and freeze then, add to drinks or to punch bowl.
* Use liquid latex and add to your make up or character you become for Halloween.
Goto my Make Up Page for more detailed information on how to apply them to your skin.
* Add to spiderwebs.
* Add to tombstones.
* By using hot glue or staples attach to props, walls, mazes, tables, trash cans, etc.
Glues
Here is a list of different glues I use for building my Halloween stuff, and what they work really good on...
Wood Glue
Any kind of wood projects.
Superglue
Anything, except your FINGERS! Please remember not to get any on your skin!! Works on Styrofoam.
Hot Glue guns and sticks)
Pretty much anything but, it don't work very well on plastic, sometimes it will just pull right off. Excellent for fabric, paper mache' items, Styrofoam, cardboard, and wood. (Make sure the area where you are applying the glue is CLEAN!!)
Used a lot for making molds with sandcasting, webshooter webs, use red glue sticks for blood drips.
Liquid Nails
Everything and anything. Excellent for pvc, wood, metal, ceramic, plastic, and cardboard.
Elmers
Comes in regular white, clear gel, colored and fluorescent colors.
White Elmers
Dries pretty clear but, kind of has a milky color to it. Good for paper mache' and other paper projects.
Clear Gel
Dries clear. Good also for paper mache' and other paper projects.
Colored and Fluorescent Colors
Works like the white except I wouldn't use it for paper mache' it's too expensive and you wouldn't see the glue color if you paint your project. It comes in small bottles. If using a black light, this is excellent for lettering! Also, you can use for "dribbles" down one of your fake walls, just squirt a big glob and let it run down, have paper or plastic on the ground to catch the excess that runs off protecting the floor.
Duct Tape
* Duct tape is a must have for any haunter! You can use it to fix props, costumes, hang items, cover seams on walls then paint over, attach cords or extension cords to the back of items or to walls, tape down extension cords to the floor so your guests don't trip over them, etc.
I do have to say that the best tape to use is Gorilla Brand Tape this stuff is extremely strong! This will not fall off of items or drywall! It is more expensive but, if you want to make sure it's not going to fall off later especially if you are using this outdoors, this is the one for you!
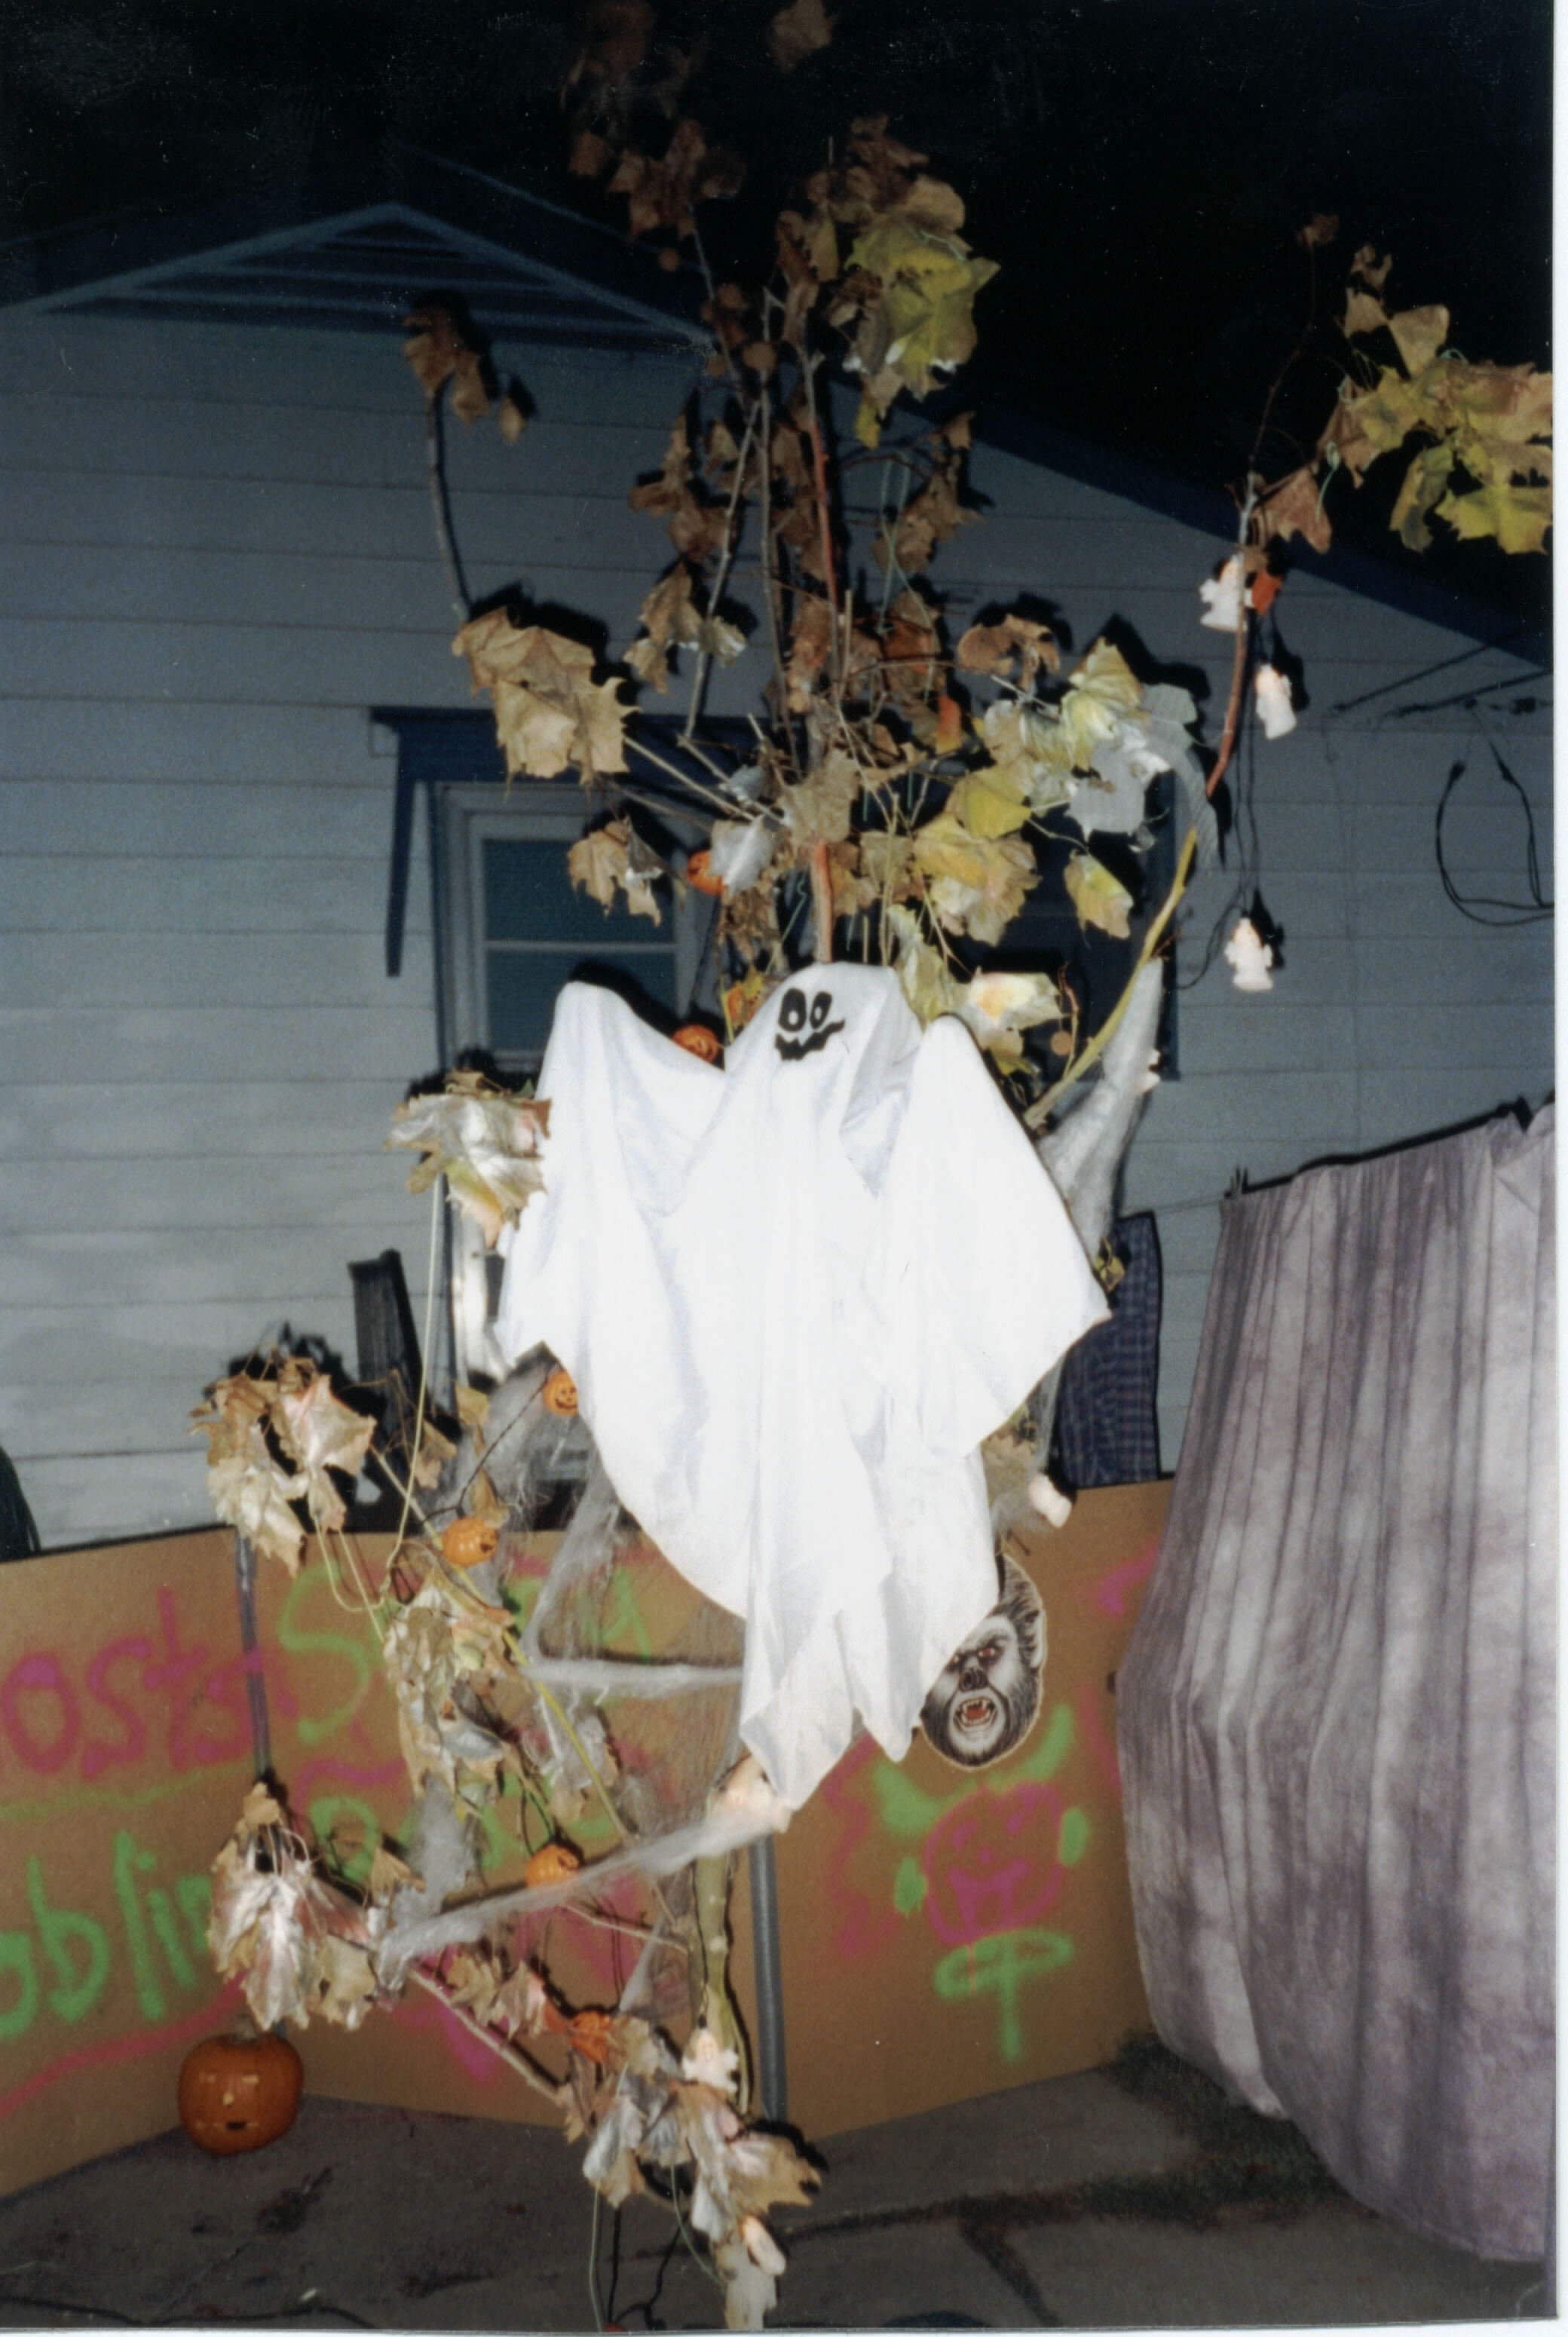
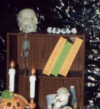
Make your own real trees
If you don't have any trees around in your yard but, would like a few or at least one here's what I did. Get a very, very large branch that has fallen off or from someone who has cut a tree down. A medium size branch is ok because you can always get small branches and hot glue them all around the medium branch to make it taller and wider. After you have the "tree" part, get either a medium size bucket or cardboard box with a garbage bag in it. Fill with quick cement and put the "tree" part in the center of the cement. Presto!! You now have a tree!!! Hang ghosts or lights on it and whatever else your creative mind thinks of!!! See picture below for reference.
Sheets
Using old sheets is one of the best and cheap ways to make...
Walls
Use to cover up items you don't want others to see.
Costumes
Easy
Rip, tear, shred, paint them
Ghosts
Table clothes
Buy rit dye and make any color you want
Cardboard
Need some easy signs, monsters, or walls?
Then grab yourself some cardboard!!
WALLS
The best kind of cardboard for this is the thick kind like from big boxes, you can get flat sections that are usually around 4 foot by 4 foot at grocery stores sometimes. (from packaging) Line them up together and use silver duct tape to make a large sheet. Then tape together in a /\/\/\ -zigzag shape so it will stand up by itself. Then either drape black plastic over it or use spray paint on it. Using black lights? Use florsecent paint! Write words, or spray it for a few seconds in one spot and let it drip down!
See the cardboard wall in the back?
MONSTERS
You can use a flat sheet as talked about above or use a piece from a box! Depending on how large you want your monster. Then with a pencil or pen draw a shape of a monster(head, arms, etc.) Then cut out! Use poster paints or spray paint to color your monster then spray a clear coat of protectant (you can find this at a arts and craft store) to weatherproof it. Nail or attach to a fence so it looks like your monster it looking at you over the fence or peeking over the fence, or have a arm come out through the fence! Another idea is put your monster peeking from behind a tree or garbage can.
Foil
Here are the different uses for foil.....
FOR LIGHTS -
If you build props or decorations that you put lights into (like x-mas lights), then you've got to try this! Before you put the lights into whatever you made, line the inside of it with foil! This will make the whole inside "light up", shimmer the color, and brighten the inside of your item! Definately a must!
FOR PAPER MACHE - Got a skull, pumpkin, bones, or some other item you would like to have more of? Then take that object and carefully wrap it completely in foil then paper mache over it, when dry carefully cut the paper mache in half, remove the original object and glue the paper mache one back together! Click HERE to learn more about Paper Mache' and the fidderent items you can make with it!
To learn how to make a STROBE ROOM with foil click HERE!
Fake Books
Quick Way
 To make some quick books for some of your scenes, use either gift wrapping paper (plain color)or fluorescent posterboard, tape, a large black marker, and a puzzle box (you can have pieces in it, after your haunt just unwrap it).
Wrap the puzzle box with the wrapping paper or posterboard, tape the edges then with a marker write on the side that will stick out on the shelf and the front cover what title you want and your done.
A Few Other Ways
If you have some extra styrofoam laying around, make some different pieces at lengths and about 3 inches wide. Next by using either an exacto knife or foam cutting tools (safer)and make some groves (to resemble gold bands usually on the top and bottom of the title), and round the edges just little bit. Next, either by just being creative or by printing out a title in the font of your choice.
I have also taken old encylopedia (or similar hard cover type books) and spray painted the cover one color then, using a marker while the book is closed and rub on the outside of the pages to change the page edge color. I would open the book in the middle and using gold or the color of your choice and spray paint the whole two pages. If you want to keep the book closed or on a shelf you can carefully paint a title and author onto the front and/or side or if you want the book to be open to see pages I would do this method - take an exacto knife and carefully cut the pages out as close to the center where the pages are glued, and then using microsoft word I would use a creepy or spellbinding font to type out a potion, spell, or poem and then place the gold painted pages into the printer (painted side facing down) and print what poem or spell onto it. Let the pages dry for a few hours then using hot glue place a couple of small dots on each corner of the page on the unpainted side then carefully line the page back into place making sure the binding edges are down far enough so you can't see that you cut them out. If you don't want to worry about getting the cut edges lined up perfectly you can always make a silk book mark to lay across the center of the open book to hide the cuts.
Here are some different titles I have used in my scenes....
Spells, Potions, Brews, Body Parts, Toad Recipes, Ogar Parts, Handbook of the Undead, Spider Recipes, Evil Spells, Love Spells, Dragon Anatomy, Werewolf Anatomy, 101 ways to Cook Worms.
Fake Ground
A nice effect to have in your graveyard is a freshly dug grave. If you don't want to dig a hole in your yard or just dig/till some dirt up try this...
Use a piece of plastic, it don't matter what color, and lay on the ground where you want the dirt to be, then by using dirt out of your garden, or some place where you won't get in trouble, or with a bag of potting soil, pour on top of the plastic, place your tombstone where it looks good to you and presto! Fresh dug grave!
For a little extra effect add a shovel and a lantern (with battery Christmas lights in it), or even a few bones or body parts next to your grave.
Tombstones
What would a haunt or a graveyard be without some tombstones? Here are some ideas for when you are making your own tombstones just grab a piece of styrofoam and an exacto knife then let your imagination go wild!
With a small paint brush, go over the letters on your tombstone with RIT WHITNER BRIGHTNER this will make your letters glow "bright light blue" when a blacklight is shined on them.
Use your computer to find a font style you want to use on your tombsones then print out what you want it to say in that font, cut them out while tracing them onto the tombstone.
You can also use a dremel tool or foam cutter to cut out your lettering.
Search the internet for "tombstone epitaphs" for funny halloween ones.
Leaves
Ok, so everyone knows that there are leaves blowing around in graveyards but, if you are using a blacklight in your graveyard scene wouldn't it be cool to add a little extra "flare" to it? If so here is a cool tip I have used in my graveyards. Walk around your yard and collect the biggest, nicest shaped leaves you can find. Then place them on either on newspaper or cardboard on the garage floor and one be one spray paint each leaf with florscent paint, use many different colors. After the leaf is painted place on the newspaper or cardboard and let dry (preferably i the garage or somewhere where the leaves will be out of a breeze, wind, or moisture). After you have completed your graveyard scene place the painted leaves all around the scene and then turn on the blacklight and PRESTO!!! Instant extra flare!!!!
Signs & Posterboard
Every haunt no matter how big or small should have at least a few signs.
Here are a few sign helpers....
The best materials to use are plywood, cardboard, or posterboard
Use a blacklight
glow in the dark paint
flourscent paint
Use christmas lights as a border around your sign or drill holes to spell out words and stick lights into them, if you use this method try using a flasher bulb or motion lights -cool effect-
If all else fails grab a flashlight or two and prop them up to shine on you sign.
Sign Ideas...
Entrance and Exit
Warning High Voltage
Monster Crossing
Keep Out
Toxic Waste
Don't feed the Zombies
For a warning sign at the front of your haunt make sure to include the following if they apply and if your haunt is scary......
Use of strobe lights, blacklights, fog, vibration, lound sounds, etc. State that you use gory scenes and if appropaite - not suitable for young children or pregnant women (if you use startle scares or vibration, etc.).
For your rules sign at the front of your haunt make sure to include the following.....
Turn off cell phones, no pictures allowed, do not use cell phone as a flashlight, no smoking, no weapons allowed, do not touch the actors/actresses or anything in haunt, not responsible for accidents or lost items, enter at your own risk, no running, one time through, # in group at a time, etc.
Glow Sticks
One of the great and cheap effects for your haunt is glow sticks. They come in many different colors and you can put them pretty much anywhere.
You can place them in many different types of items, pretty much anything you want to glow or light up, and they are a great alternative to using real candles (much safer!).
For parties activate glow stick and carefull put inside a white balloon then, blow up balloon either with air or helium. If using air try hanging the balloons from the ceiling, great effect if you hang them from tree branches outdoors at night for a party!
Try putting them in, skulls, ghosts, light up items like pumpkins or other plastic store bought light up things especially if you can’t plug them in, this will light them up about the same (try 2 glow sticks if one isn’t bright enough). Also put them behind things like, laboratory jars, pumpkins and tombstones.
Or try hanging some from a tree with some Halloween garland or spider webs. I have discovered that GREEN is always the brightest color when it comes to glow sticks!!
Using Real Food
Yes you can actually use real food in your haunt!
If you have some kind of a "lab" or "witch" scene try making your scene an interactive one.
Get some small bowls or plastic cauldrens. Read the list below, choose which ones you would like to use, prepare as directed and place in your bowls or cauldrens and, place a label on the outside. When your guests come through the scene ask them if they would like to feel some real eyeballs, brains, or whatever you come up with "refer to your lables for the names". Some will some won't but, the reactions you get are worth it! Not to menchion kids love it when they can participate and do something gross!
Grapes - peel the skin off the outside. Label eyeballs.
Speghitti - Cook as you normally would then add a little bit of cooking oil (to make them slimey). Label guts, frog intestines, snakes.
Cheesecloth
One item I simply can not go without using is cheesecloth! You can usually get packs of 3-5 yards of it or buy a cut of it by the yard at your local craft store. The cheapest I have found is at Walmart. They have a 5 yard pack for about $3.
If you want your cheesecloth to "glow" under a blacklight, soak the cheesecloth in "rit-whitner brightner" (it will glow a bright light blue) or using "clear neon" create a mixture of 1/2 water & 1/2 paint and soak cheesecloth (will glow color of paint). Then hang over item going on(if using paint mixture, it will slightly harden which is why you want it where it will be on the prop or where ever while drying) or hang outdoors to dry.
Here are some ways to use cheesecloth...
Using a styrofoam head and a coat hanger straightened and pushed through the "neck" of the styrofoam head. Shape the wire into arms and cover with cheesecloth for a ghost.
Use as a wall, shred bottom for a aged look.
Hang in windows for curtains, shredding sides and bottom for a aged look. Make them "glow" & use a twisted black light bulb in room. Or if using a colored light in the room dry the cheesecloth in black dye so you can see the "shredded curtains".
Use as a tablecloth.
Soak in coffee or tea mixture then let dry, shred and hang over the top of items like corpses, lightfixtures, candelabras, etc. for an aged, spider web look.
Spray Foam
* Making Guts for your skeletons or props
- Make a dummy made of old clothes stuffed with newspapers then, at the ends where a head, arms, or legs would be or by making a cut into the clothes of your dummy spray some spray foam from the center outward, when dry paint red. Presto instant guts!
* Hands
- As seen on "Twisted Visions" web site take a coat hanger or pieces of wire and cut into strips as long as you want the hand and fingers to be. Then tape the wires together to make the shape of an arm with fingers. Then slowly spray the spray foam over the wire and let dry. When dry take a file and a exacto knife and cut the foam down then file to get the fingers to the right size and detail you want! Use these popping out of the ground in the cemetery or with yardboys. Try haning them out of a coffin, as you can see there are many uses for these.
|


|